Journal printing guide
Print small photos for a journal on one sheet
A journal spread rarely needs every photo at the same size. One portrait can anchor the page while small squares leave room for handwriting. Measure the space in your notebook first, then enter those dimensions in Print Sheet Studio. The page preview is reduced to fit your screen; it is not an on-screen ruler.
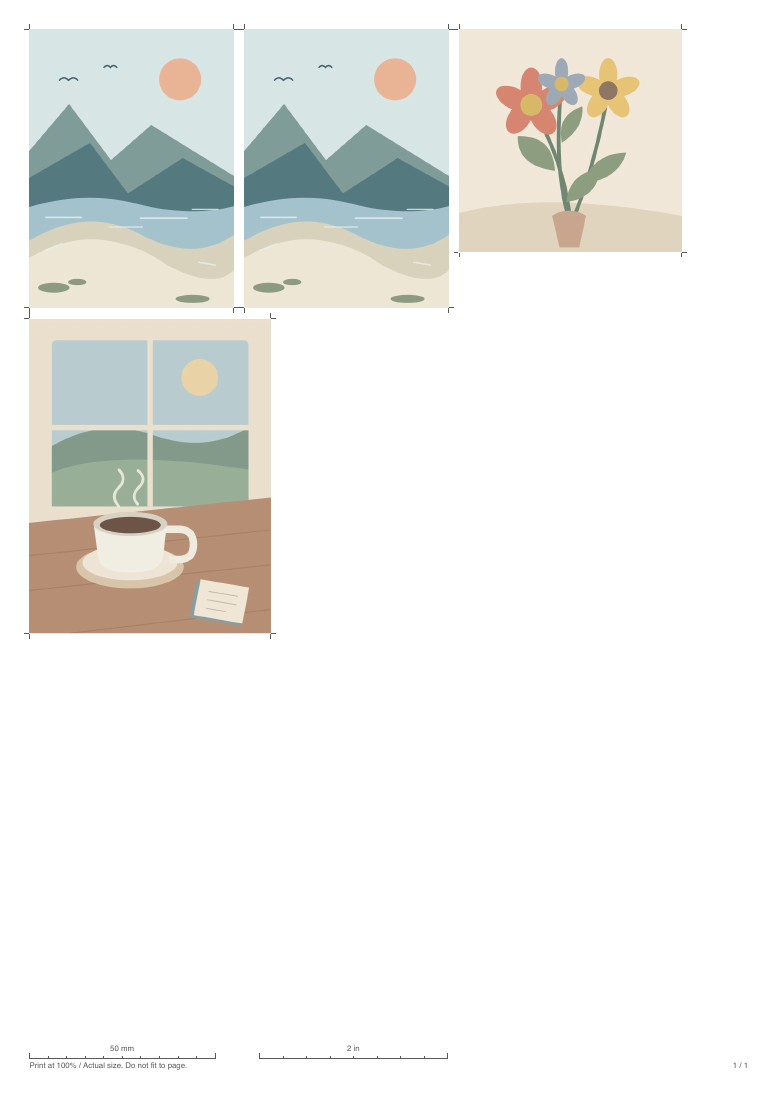
Different sizes on one A4 sheet
This is a rendering of a PDF generated by Print Sheet Studio, using its original sample illustrations. It is not a photograph of a physical print.
- Coastal morning
- 55 × 75 mm · 2 copies
- Garden notes
- 60 × 60 mm · 1 copy
- Café afternoon
- 65 × 85 mm · 1 copy
The empty space is unused paper, not a promise of the tightest possible packing. Open the tool to try the sample before adding your own pictures.
Try the sample sheetMake a sheet with your own photos
- Choose your paper. Set Paper size to the sheet you will load: A4, US Letter, or another supported size. Choose Millimeters or Inches under Units. Start with an 8 mm margin and 3 mm gap; these are layout choices, not a guarantee that your printer can reach every edge.
- Add photos. Use Add photos or drag JPG, PNG, or WebP files onto the tool. Adding your own images replaces the sample illustrations. Keep your originals separately.
- Select a photo and set its frame. Enter Width, Height, and Copies for that picture. Select the next thumbnail to give it a different size. Use Apply this size & fit to all photos only when you want a matching set.
- Check the fit and each page. Choose Keep whole photo or Fill the frame, adjust the crop if needed, and inspect all pages using the preview arrows. Extra copies can move onto another sheet.
- Download PDF. Open it in a PDF reader, match the paper size, and print one plain-paper test at Actual Size or 100%. Measure the calibration ruler before using photo paper.
A separate layout idea for a weekend spread
The plan below is another set of sizes you can enter yourself, not the contents of the sample image above. It uses five photo pieces. Measure your journal first: dimensions describe the outer photo box, which can include white space when the entire image is preserved.
| Picture | Box size | Copies | Purpose |
|---|---|---|---|
| Main memory | 60 × 80 mm | 1 | A portrait beside the main story |
| Small details | 40 × 40 mm | 3 | A meal, a place, and an object |
| Wide scene | 80 × 40 mm | 1 | A horizontal strip below a heading |
Check a journal column before printing
Two 40 mm squares with 3 mm between them occupy 40 + 3 + 40 = 83 mm. In a 90 mm-wide journal area, that leaves 7 mm altogether, or 3.5 mm on each side if centered. This checks the arrangement in your notebook; the print sheet's outer margin is a separate setting.
Choose the crop deliberately
Choose Keep whole photo (contain) when the whole picture matters, such as a group portrait or a photographed note. Empty space can remain inside the box. Choose Fill the frame (cover) for an edge-to-edge photo, then check which edges disappear. Both preserve the photo's proportions. These modes follow the behavior described in MDN's object-fit reference.
A wide photo in a square frame loses side content when filled. Use the Crop left / right slider to keep the subject visible, or preserve the whole photo instead. Cutting guides mark the frame: trimming away contain-mode white space will make the finished piece smaller than that frame.
Try the paper pieces in your journal
Cut out the plain-paper test and place the pieces on your spread before attaching them. If a frame is the wrong size, follow the printing-scale checks. If the dimensions are right but details look soft, check source resolution. This release has not been tested on a physical printer; paper, ink, driver settings, and image quality all affect the result.
Make a sheet for your next spread
Enter the measurements you took from your journal, then download the PDF before closing the tab.